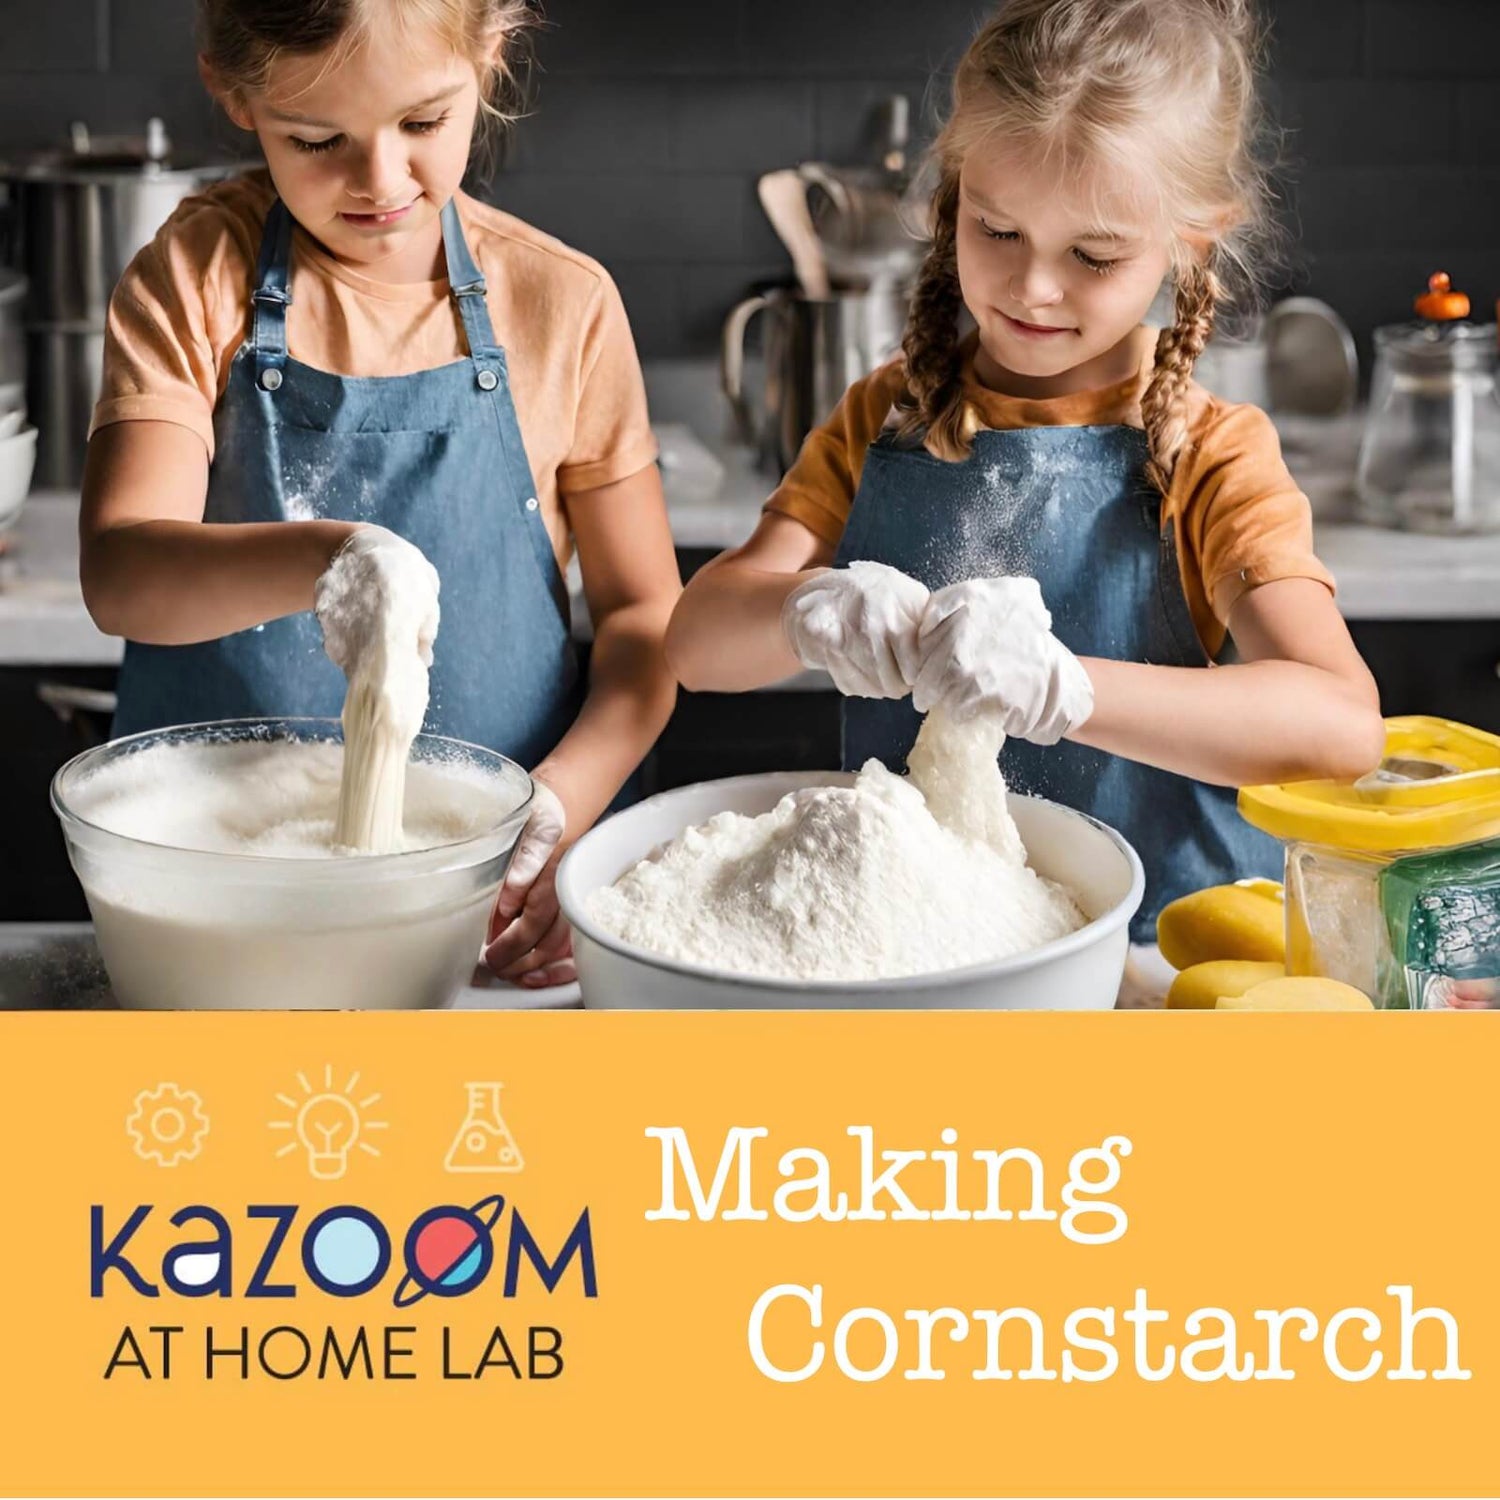
In a world where DIY and home-based solutions are increasingly celebrated, the pursuit of making everyday ingredients from scratch has become a fascinating venture for many. Among these, cornstarch stands out as a staple in kitchens worldwide, known for its thickening prowess in soups, gravies, and sauces, as well as its role in countless recipes from baking to frying. However, turning corn into cornstarch in a home kitchen presents an intriguing challenge, given the industrial nature of its usual production process. Despite this, let's explore how one might approach this task with household tools, bearing in mind the simplicity and limitations of home processing.
Understanding Cornstarch
Cornstarch is derived from the endosperm of corn kernels, which contains the starch that's coveted for its thickening properties. In an industrial setting, this involves steeping, grinding, separating, and drying processes to isolate and purify the starch. At home, replicating this process requires creativity and patience.
Starting with the Right Corn
The journey begins with selecting the right type of corn. Cornstarch is traditionally made from yellow dent corn, known for its high starch content. While not commonly sold in grocery stores, it can be found at feed stores or specialty suppliers. Once you have your corn, the real experiment begins.
The Homemade Process
- Cleaning and Soaking: Start by cleaning the corn kernels to remove any debris. Then, soak them in water for about 48 hours at room temperature. This step is crucial for softening the kernels and beginning the separation of starch.
- Blending and Grinding: After soaking, drain and rinse the corn. Then, blend the softened kernels with a bit of water to create a slurry. The goal here is to break down the kernels to release the starch. A high-powered blender works best for this task.
- Separating the Starch: Pour the slurry through a fine mesh strainer or cheesecloth into a large container. The liquid that passes through should contain the starch. Allow this liquid to settle for a few hours, and the starch will sink to the bottom.
- Decanting and Drying: Carefully pour off the water, leaving the wet starch at the bottom of the container. Spread this wet starch on a baking sheet lined with parchment paper. A thin, even layer will help it dry more quickly and evenly.
- The Drying Process: Allow the starch to dry thoroughly. This can take several days, depending on humidity and air circulation. You can expedite the process by placing the starch in an oven on the lowest possible setting with the door slightly open to allow moisture to escape. Stir occasionally to break up clumps and ensure even drying.
- Finishing Touches: Once the starch is completely dry, it may be lumpy. Use a blender or food processor to grind it into a fine powder. Sieve the powder to remove any larger particles, and your homemade cornstarch is ready to use.
Realistic Expectations
It's important to manage expectations when making cornstarch at home. The yield from home processing will be lower than commercial methods, and the process is time-consuming. However, the satisfaction of creating a pantry staple from scratch is a rewarding experience that offers a deeper appreciation for the ingredients we often take for granted.
In Conclusion
While the home production of cornstarch is not as straightforward as picking up a box from the store, it's a fascinating experiment in self-sufficiency and food science. It serves as a reminder of the complexity behind everyday ingredients and the ingenuity required to turn a simple corn kernel into a versatile kitchen staple. Whether you're driven by curiosity, a desire for a more hands-on approach to cooking, or the pursuit of knowledge, making cornstarch at home is a journey worth exploring.


